Sow Today, Harvest Tomorrow’s Seeds: A Beginner’s Guide to Seed Saving

There’s a unique magic in saving seeds from your own garden. It’s a connection to generations of gardeners, a way to preserve your favorite varieties, and a step towards greater self-sufficiency. It’s also a money saving technique to supply yourself, family and friends with favorite seeds for your gardens year after year.

The idea of seed saving can feel daunting to beginners but this guide will walk you through the basics and get you started on this rewarding journey.

Why Save Seeds? The Seed of an Idea

Seed storage, seed saving, seed starting, seed drying

Before we dive in, let’s appreciate why seed saving is so valuable:

  • Preserve Your Favorites: Did you grow a tomato with exceptional flavor or a pepper with vibrant color? Saving their seeds ensures you can enjoy them again next year.
  • Adaptation to Your Climate: Seeds saved from plants that thrived in your specific garden conditions are more likely to flourish in future seasons. They’ve already adapted!
  • Cost Savings: No more yearly trips to the garden center for the same varieties with prices increasing every year.
  • Genetic Diversity: By saving open-pollinated (non-hybrid) seeds, you contribute to the preservation of genetic diversity in our food system.
  • A Deeper Connection to Your Garden: Seed saving fosters a more intimate relationship with your plants and the natural cycle of growth.

Getting Started: The Basics for Beginners

Tomato Plants, tomato seedlings, starting from seed

The key to successful seed saving for beginners lies in choosing the right plants and employing simple techniques. Here’s what you need to know:

  1. Choose Open-Pollinated Varieties:

This is the most crucial step for beginners. Hybrid seeds (often labeled “F1”) are a cross between two different parent plants and won’t produce offspring that are true to type. This means you don’t really know what you’ll get from your seeds as they may revert back to one of the original parent plants. Look for seed packets or plant tags that specifically state “Open-Pollinated” or “Heirloom”. Heirloom varieties are a type of open pollinated seed with a long history. Some easy Open Pollinated vegetables to start with include:

  • Beans: Snap beans, bush beans, pole beans
  • Peas: Shelling peas, snow peas
  • Tomatoes: Many Heirloom varieties
  • Lettuce: Leaf lettuce, romaine
  • Peppers: Bell peppers, chili peppers (be mindful of cross-pollination – more on that later!)
  • Herbs: Dill, cilantro, parsley

pollinators, bee house

  1. Understand Pollination (The Birds and the Bees… and the Wind!):

Plants reproduce through pollination, the transfer of pollen.

  • Self-Pollinating: Some plants, like beans and peas, primarily pollinate themselves. This makes seed saving relatively straightforward.
  • Cross-Pollinating: Other plants, like squash, corn, and many brassicas (broccoli, cabbage), rely on wind or insects to transfer pollen between different plants. This can lead to cross-pollination, where the resulting seeds produce offspring that are a mix of the parent plants.

For beginners, focus on self-pollinating plants first to minimize the risk of unwanted crosses.

  1. Simple Seed Saving Techniques:

Here are basic methods for saving seeds for some beginner-friendly plants:

  • Beans and Peas: Allow the pods to dry completely on the vine until they turn brown and brittle. Shell the beans or peas and let them air dry for a few more days before storing.
  • Tomatoes: Select ripe, healthy fruits. Squeeze the seeds and pulp into a jar with a little water. Let it ferment for a few days (a white mold will form on top – this helps remove the gel-like coating around the seeds). Rinse the seeds thoroughly, spread them on a paper towel to dry completely, and then store.  Other plants that have a gel that prevents the seeds from germinating, like cucumbers, will need this process as well.
  • Lettuce: Allow lettuce plants to bolt (send up a flower stalk). Once the flowers dry and turn fluffy, gently rub the seed heads over a container to collect the tiny seeds. Ensure they are fully dry before storing.
  • Dill and Cilantro: Let the flower heads dry completely on the plant. Once brown and brittle, shake or rub them over a container to release the seeds.
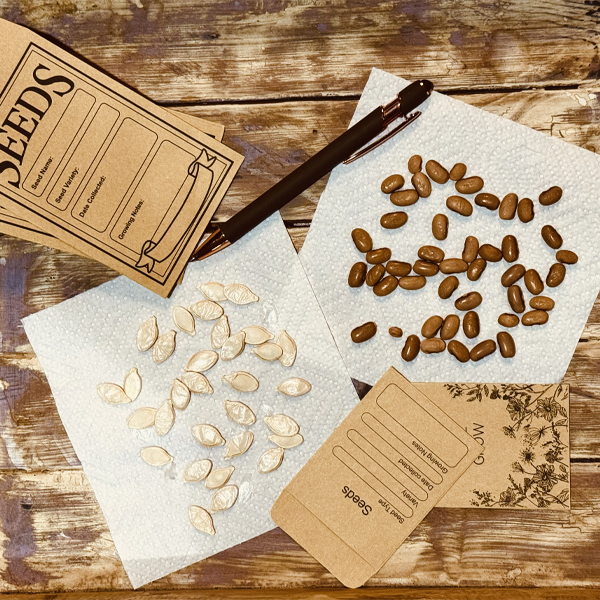
  1. Drying and Storing Your Precious Seeds:

Seed storage, seed saving, seed starting, seed packets

Proper drying and storage are crucial for seed viability:

  • Dry Thoroughly: It’s important to ensure your seeds are completely dry before storing to prevent mold and mildew. Spread them in a single layer on paper towels or screens in a well-ventilated area. Be sure to write the type of seed on the paper towel or on a note on the screen especially if you are drying multiple types of seeds at one time. The drying process can take several days; don’t rush the process as too much heat can damage the germination percentage for the seeds and storing them to quickly can result in moldy seeds.
  • Store in Airtight Containers: Once dry, store seeds in airtight containers like glass jars or paper envelopes. We recommend paper envelopes over plastic bags as plastic bags will hold in any latent moisture and cause your seeds to mold. Envelopes can be stored inside glass, plastic or metal containers. Label each container clearly with the plant name, the date of collection and when the seeds should be started the following year. If particular seeds are started indoors first, note when to start indoors and when to transplant into your outdoor pot or garden.  If a plant can be sown in both spring and fall, note the months for first and second plantings.
  • Keep Cool and Dark: Store your seed containers in a cool, dark, and dry place. Fluctuations in temperature and humidity can reduce seed viability. A cool, dry basement or a designated seed storage box works well.
  1. Keeping Your Seeds Organized

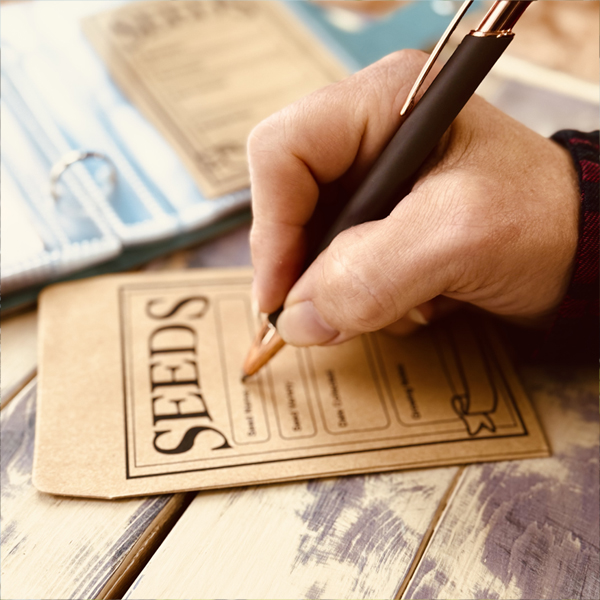
It’s important to keep your stored seeds organized after all that hard work!

  • Not just for looks:  Organizing your seeds in a container or binder isn’t just to look nice, it means that you’ll know where they are next season.  This will help you feel less stressed when it’s time to start your seeds and save you money when you don’t have to rush to the store because you can’t find your saved seeds
  • Dates Matter: You’ve labeled your seeds with the date so keeping them in order helps when you’re looking at germination rates.  Older seeds will begin to have a lower germination rate (number of seeds that actually sprout) than fresh seeds.  If you’ve collected three years of seeds of the same variety, you may want to begin rotating out the old packages.
  • Storage Ideas: There are a lot of options when it comes to organizing your seed packets and saved seeds.  We’ve used photo boxes individually labeled with the variety and planting dates, bins and boxes with dividers and even glass jars labeled on a shelf.  Our favorite way of storing our seeds is in a Seed Binder along with notes relevant to each seed variety that we can reference the next year.

Taking the Next Step (When You’re Ready):

As you gain confidence, you can explore more advanced seed saving techniques, such as:

  • Saving seeds from cross-pollinating plants: This often requires isolation techniques like hand-pollination or physically separating different varieties with netting or distance.
  • Learning about seed cleaning: Removing chaff and debris from your saved seeds.
  • Understanding seed viability testing: Checking if your saved seeds are still likely to germinate.

Seed storage, seed saving, seed starting, seed watering

The Joy of Saving Seeds

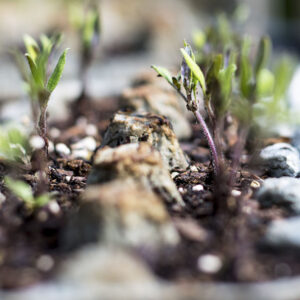
Saving seeds is a rewarding practice that connects you to the cycle of life in your garden. Start small, be patient, and don’t be afraid to experiment. With a little effort, you’ll be harvesting not just food, but the potential for future harvests, right from your own backyard. Knowing that you are growing new plants from ones you lovingly tended the previous season gives a connection to your new garden that is satisfying and empowering. Happy seed saving!